

In today’s world online privacy, regional blocks and censorship is becoming more and more of an issue. A lot of VPN services are appearing which aim to allow people to be anonymous when browsing the internet. However these VPN services present a few problems.
The first is you have no idea what data is really logged, or even if anyone is snooping on what you are doing, the second is the cost. Often VPN services can be quite expensive and have limits on the amount of data that can be used each month.
So what can you do?
Well its very easy to set-up a secure VPN server on a Linux VPS (Virtual Private Server). On a VPS you have full root access, meaning you can do what you want and control who has access to the VPS. A basic VPS server can cost you as little as £2 a month, which is not a lot compared to paying for a VPN provider.
In thus tutorial we are going to be using the most basic VPS from OVH, the VPS Classic 1.
Link: VPS Servers from OVH
The VPS Classic 1 has:
- 1x CPU core
- 1gb of ram
- 10gb of storage space
- 1x IPv4 and 1x IPx6 static address, with all ports open
- 100mbps connection
This is more than enough to run an Open VPN access server
Installing Open VPN Access Server on a VPS:
Usually when purchasing a VPS you will get a choice of =operating system you wish to install, for the purpose of this tutorial I have used Ubuntu 14 64bit.
To connect to the VPS we will use SSH, on Windows we need an SSH client such as Putty, on OSX or Linux you can simply use the terminal.
Once connected to the VPS via SSH you want to download the OpenVPN access server, to do this type
[blockquote source=”Name of the source”]wget http://swupdate.openvpn.org/as/openvpn-as-2.0.11-Ubuntu14.amd_64.deb[/blockquote]
Note: The latest versions of OpenVPN Access Server can be found here, simply right click on the download link from your browser and select copy link address, you can then paste that in to your VPS to download directly on the VPS.
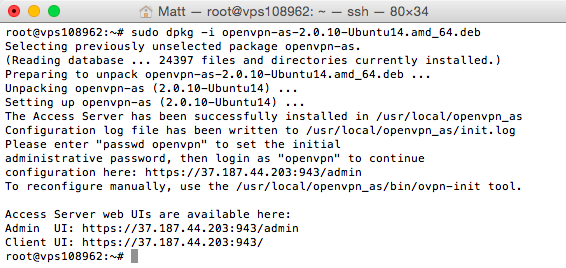
Once downloaded you want to type the following command to install Open VPN Access Server
[syntax type=”html|php|js|css”]sudo dpkg -i openvpn-as-2.0.11-Ubuntu14.amd_64.deb[/syntax]
Note the file name will change slightly with newer versions of Open VPN Access Server

You should then see some links in the Terminal whcih say Access Server web UIs are available here:
Admin UI: https://37.187.44.203:943/admin
Client UI: https://37.187.44.203:943/
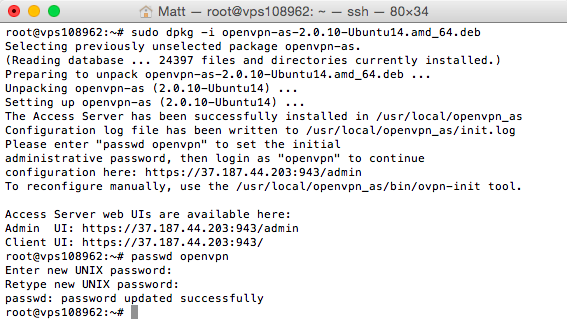
We now need to set a password for the openvpn user, so type
[syntax type=”html|php|js|css”]passwd openvpn[/syntax]
You will then be asked to enter a new password, and confirm the new password. You will need to remember this password.
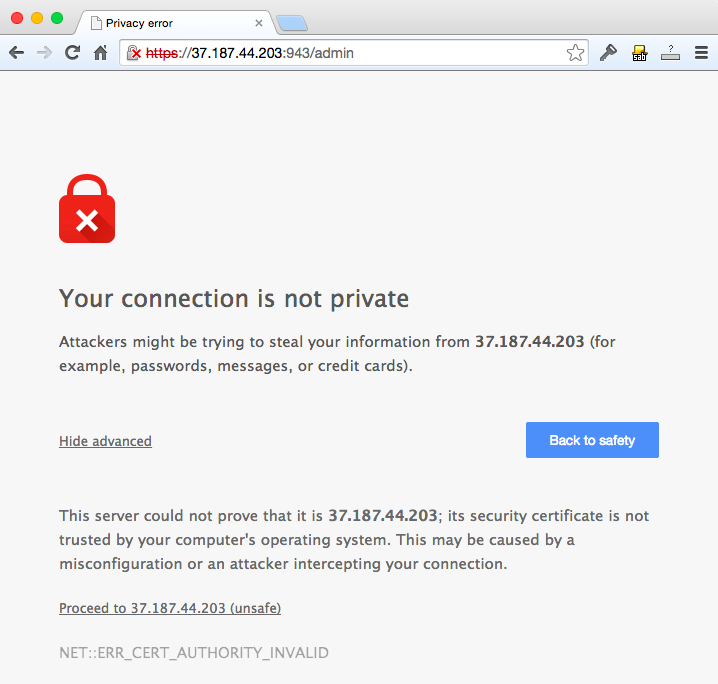
Next you want to open the Admin UI link in your web browser so go to the link that is show, in thix example that’s https://37.187.44.203:943/admin
Please note the https:// if you simply type http:// you will not get the admin interface.
As you are connecting to a secure site without a secure certificate you will be warned, this is normal and its perfectly save to visit the site. After all you are the person running the site so you know this!
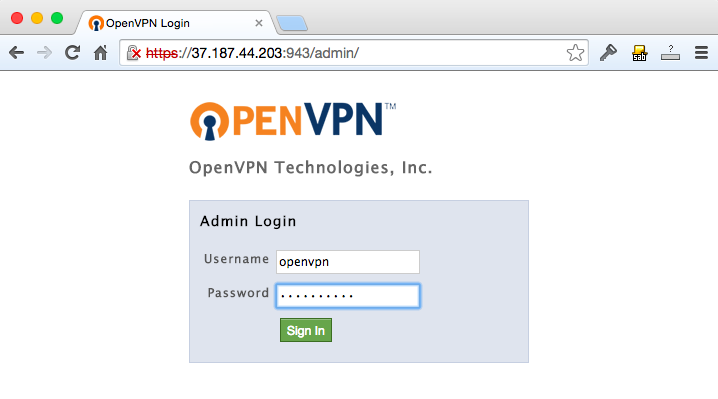
Next you will be asked for a username and password, the username is openvpn and the password is what ever you previously set for the “openvpn” user in the terminal. Enter these to log on to the OpenVPN web ui
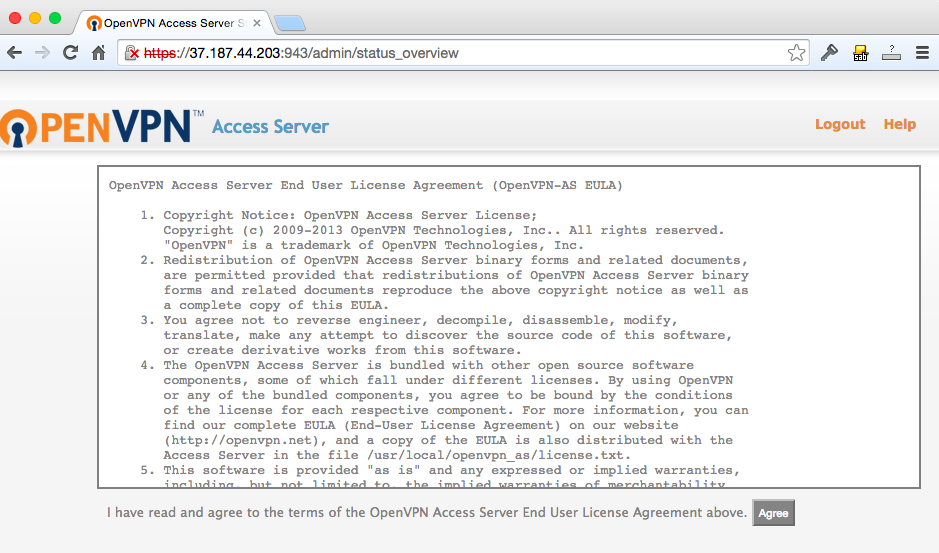
You will then have to accept the end user licence agreement:
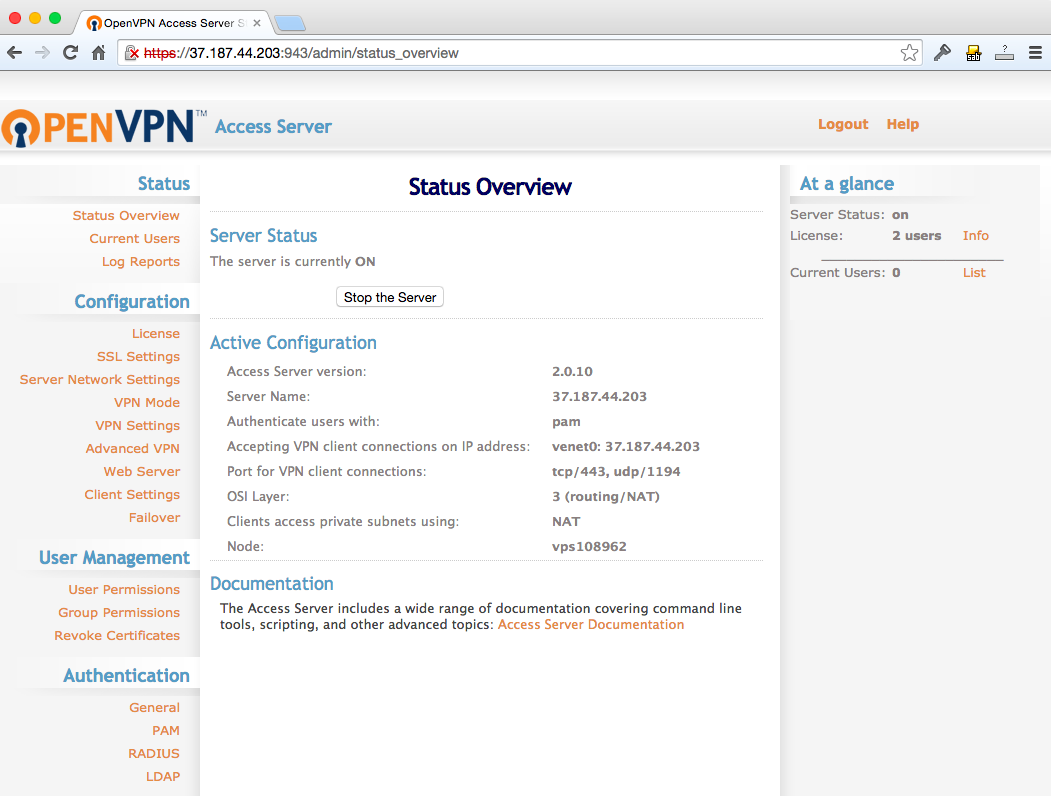
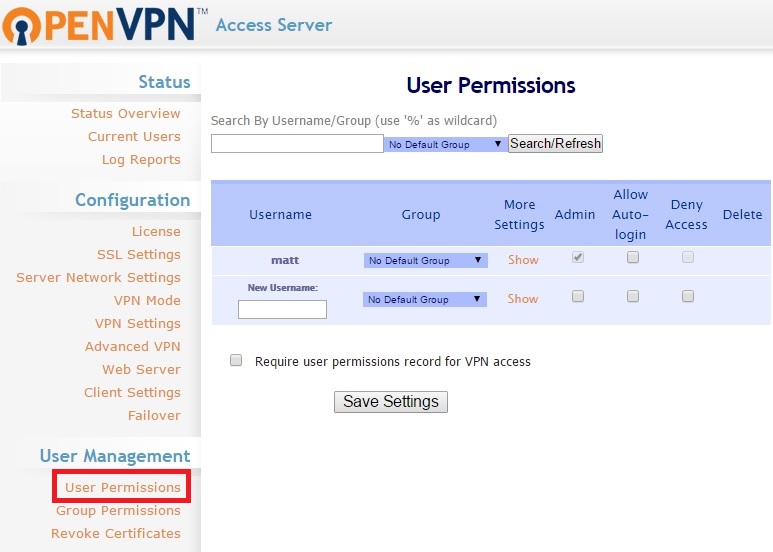
You should now see the admin interface for your OpenVPN server, here you can manage users, configure additional options and start / stop the server.
By default you get a licence for two users, which for a personal VPN i think is more than enough. If you wish to allow any more users to access the server then you will have to purchase a licence.
OpenVPN Access Server is actually pretty secure out the box, however at the end of this tutorial i will give you some tips / settings i have changed.
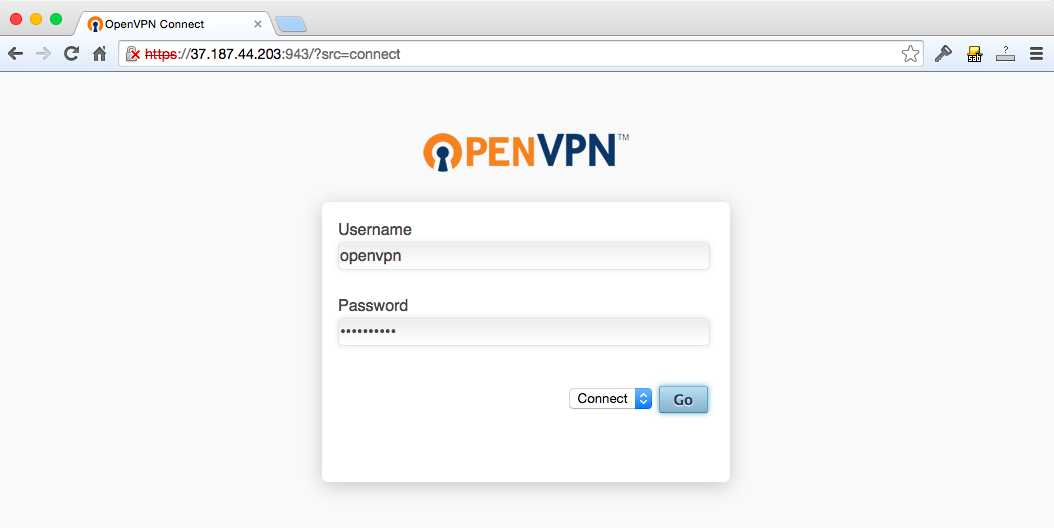
You are now ready to connect to the VPN, so log on to the client UI URL which was listed in the terminal earlier on, in this example it is https://37.187.44.203:943
Here you want to enter the username, password and select connect.
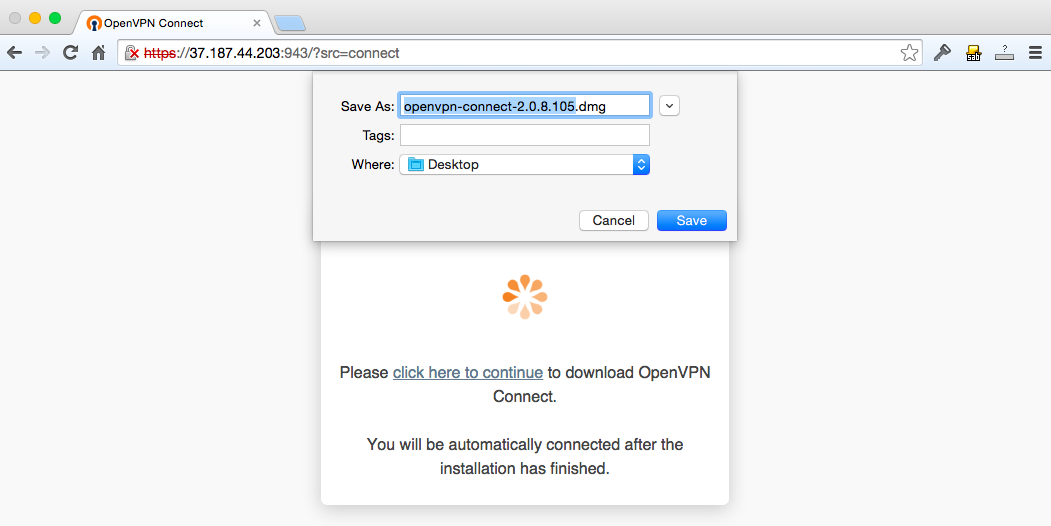
You will then be presented with a personalised download of the OpenVPN client, complete with settings for the user account you logged on with to connect to the VPN.
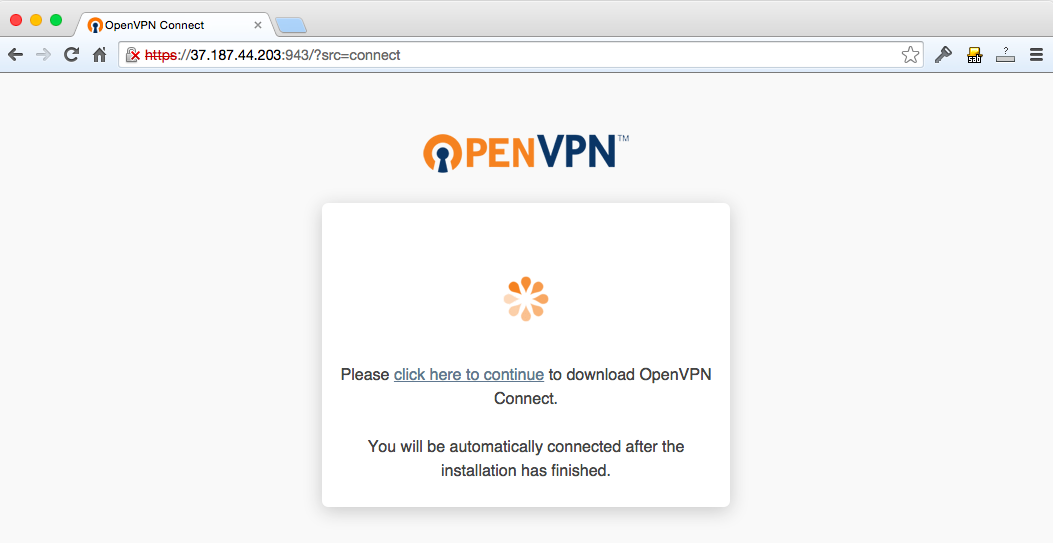
Save this to somewhere easy to find, such as your desktop
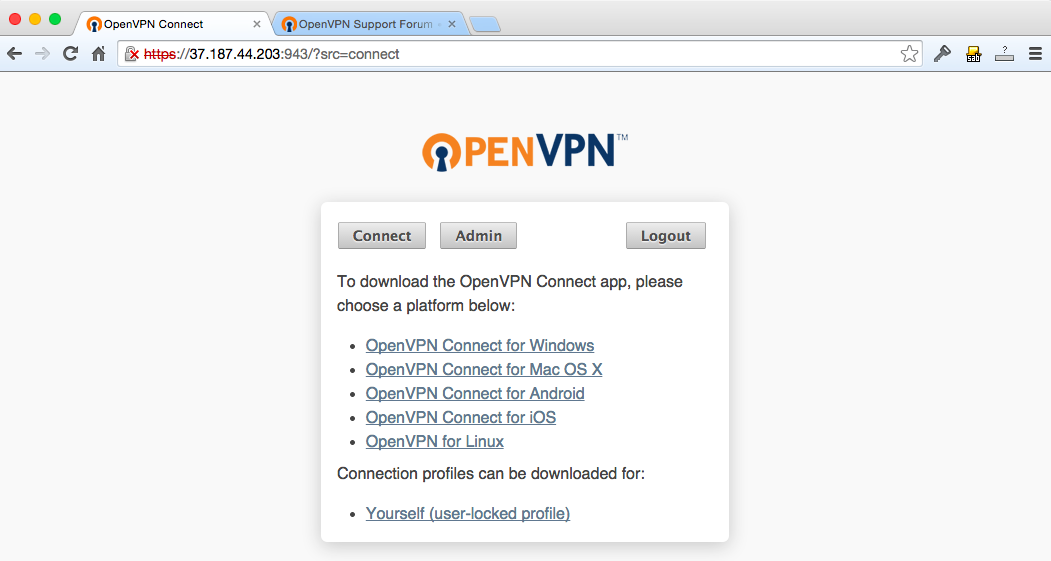
After the download has finished or if you refresh the page you will be given an option to download the OpenVPN Connect app for a variety of different platforms.
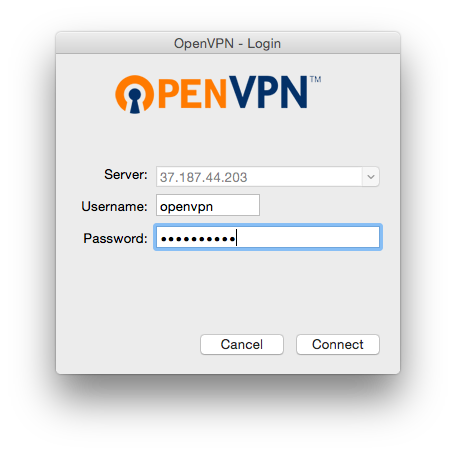
Once the OpenVPN connect app has been installed you can log on to the app with your username and password:
I tick the box which mensions “dont ask again” about the unverified connection.

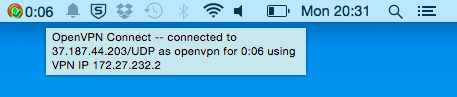
You will then be connected to the VPN:
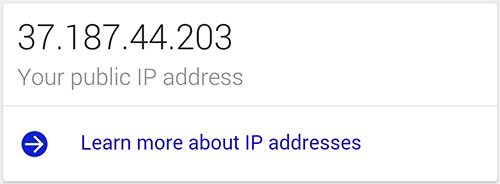
To check all your internet traffic is going through the VPN simply type in to Google “What is my IP” and Google will tell you the IP address you are accessing it from:
This should be the IP address of your VPS OpenVPN Access Server is running on:
Despite going through a VPN the speed of my internet connection is still lightning fast:
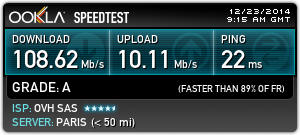
In comparison this is a speedtest of my internet connection without using a VPN:
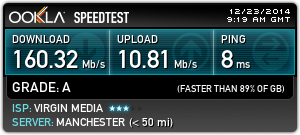
My download speed is still significantly faster, however the connection speed on the VPS is limited to 100Mb/s, so i pretty much maxed the connection on the VPS out. For £2 a month i dont think you can really go wrong!
So that’s basically it, you now know how to setup a secure VPN server on a VPS. You can now purchase a VPS in any country of the world depending on where you want websites to think you are accessing the internet from. For example if you wanted to access the BBC iPlayer from outside the UK, you would want to get a VPS located within the UK, however if you wanted to access american services like Hulu then you would want a VPS located in America. You might even want a VPS located in Japan if you wish to buy region restricted content or games on the Xbox 360 for example.
If all you want to do is browse the internet securely on public Wi-Fi then then it doesnt matter too much where you purchase a VPS, however the closer to you the better if you want to be downloading large files.
My OVH VPS is located in France and in the UK i can almost get the full 100mbps through the VPN so i’m more than happy with that.
Additional OpenVPN Configuration Options:
If you wish to access your VPN from behind a restrictive firewall it’s worth changing the ports OpenVPN ruins on to 443. This is the secure https port so is very unlikely to be blocked, even by the most restrictive of firewalls:

I would also personally create a new user account and delete the old OpenVPN account once you are happy the new user account is working, this is just personal preference more than anything. I personally just don’t like using the default user accounts if it can be helped .
Hopefully this quick tutorial has proved useful to you and shows just how easily you can setup a secure VPN up on a Cheap VPS.
If you have any questions ill try my best to help.
1 Comment
hi . thanks for you article . it was vary helpful . i did whats is in the article and successfully connect to the server and network . now i want to connect the vps to a panel and create more user and manage them easely . please can you help me to do that . thank you